A calibrator is a device used to adjust an instrument accuracy, often associated with a specific application. The most sophisticated industrial equipment will not be very useful unless it is properly calibrated. It is through calibration that adjustments made to a piece of equipment to ensure that it performs as expected, so that it can be relied on to deliver predictable, accurate results that meet quality standards.
Simply defined, calibration is the process of adjusting a device to meet manufacturer’s specifications. Calibration is sometimes also defined as the issuing of data, including a report or certificate of calibration, that assures an end user of a product’s conformance with specifications, and perhaps also with external guidelines, such as those of the International Organization for Standardization, whose ISO 9001 standards, for example, set worldwide specifications for business sectors. A company follows these standards to ensure that its products and/or services gain acceptance among suppliers and customers. This second definition of calibration is more properly referred to as certification.
Most instruments and sensors are designed to meet certain accuracy specifications; the process of adjusting an instrument to meet those specifications is referred to as calibration. The device used to calibrate other instruments is known as a calibrator. Calibrators vary in form and function depending on the instruments with which they are designed to work.
How Do Calibrators Work?
What is NIST traceability? The National Institute of Standards and Technology (NIST), part of the U.S. Department of Commerce, oversees the development of measurement standards and technology consistent with the International System of Units (SI). NIST is also charged with imparting these standards to the American system of measurements through calibrations and other services. To help U.S. industry meet international standards, NIST provides, among other programs, laboratory accreditation that enables a business to establish traceability of measurement results.In an industrial setting, a calibrator is a crucial tool used to ensure the accuracy and reliability of various measuring instruments and devices. Its primary purpose is to compare the readings of a Device Under Test (DUT) with known reference values and make necessary adjustments to bring the DUT within acceptable tolerances.
A typical calibrator consists of a combination of hardware and software components designed to simulate precise input signals and measure the output response of the DUT. The hardware component often includes signal generators, voltage or current sources, and various sensors. These elements produce stable and accurate signals across a wide range of parameters – such as temperature, pressure, or electrical quantities.
The calibrator’s software interface allows technicians to select the desired calibration parameters and define the reference values to which the DUT should be compared. During the calibration process, the calibrator generates the predetermined test signals and measures the response of the DUT. Any deviation from the expected values is recorded, and the calibrator calculates the necessary adjustments to bring the DUT back into alignment.
Here is a simplified overview of how a calibrator typically operates:
- Select Calibration Parameters: The technician or operator sets the desired calibration parameters based on the type of instrument being calibrated. These parameters could include voltage, current, temperature, pressure, or other measurable quantities.
- Define Reference Values: The technician inputs the known reference values that the DUT should ideally measure or respond to. These reference values serve as a benchmark for comparison.
- Generate Test Signals: The calibrator generates precise and stable test signals that simulate the desired measurement conditions. For example, if calibrating a voltmeter, the calibrator might generate a specific voltage signal.
- Apply Test Signals to DUT: The generated test signals are connected or applied to the input of the DUT. The DUT measures or responds to these signals based on its design and function.
- Measure DUT Response: The calibrator measures the output response of the DUT, which could be a voltage, current, temperature, or any other relevant measurement. This response is compared to the known reference values.
- Determine Deviation: The calibrator calculates the difference or deviation between the DUT’s measured response and the reference values. This deviation indicates the error of offset in the DUT’s measurement.
- Adjust DUT: If the DUT’s measured response falls outside the acceptable tolerances, the calibrator applies appropriate adjustments. These adjustments could involve modifying calibration coefficients, adjusting calibration trim pots, or other methods specific to the DUT.
- Verify Calibration: After the adjustments, the calibrator repeats the test to ensure that the DUT now meets the defined tolerances and provides accurate measurements. If necessary, further adjustments are made until the DUT is calibrated correctly.
Calibrators may have different capabilities and features depending on the specific industry and application. The process described above provides a general understanding of how a calibrator operates to ensure accurate measurements in an industrial setting.
The Calibration Process
A company with equipment needing calibration may send it to a metrology/calibration laboratory, where a skilled technician will either bring it up to specifications or confirm that it already meets them, using measurement/test instruments that must themselves meet strict calibration requirements. All or part of the components used in an industrial process can be calibrated. A temperature calibration, for example, could involve a probe alone, an instrument alone, or a probe connected to an instrument (a system calibration). Adjustments made during calibration must fall within certain tolerances. Such tolerances represent a very small, acceptable deviations from the equipment’s specified accuracy.
How Often Should an Instrument be Calibrated?
The manufacturer usually does the initial calibration on its equipment. Subsequent calibrations may be done in-house, by a third-party lab, or by the manufacturer. The frequency of recalibration will vary with the type of equipment. Deciding when to recalibrate a flowmeter, for example, depends mainly on how well the meter performs in the application. If liquids passing through the flowmeter are abrasive or corrosive, parts of the meter may deteriorate in a very short time. Under favorable conditions, the same flowmeter might last for years without requiring recalibration. As a rule, however, periodic recalibration should be performed at least once a year. Of course, in critical applications frequency will be much greater.
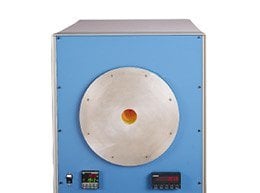
Choose the right calibrator
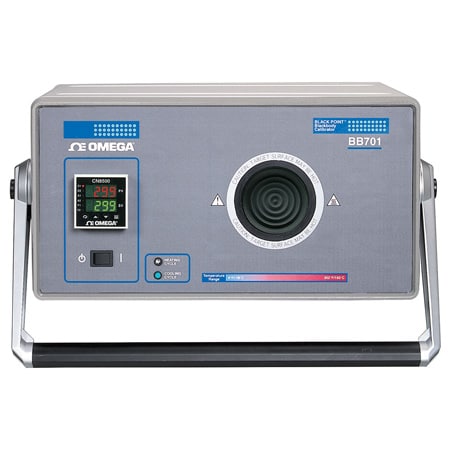
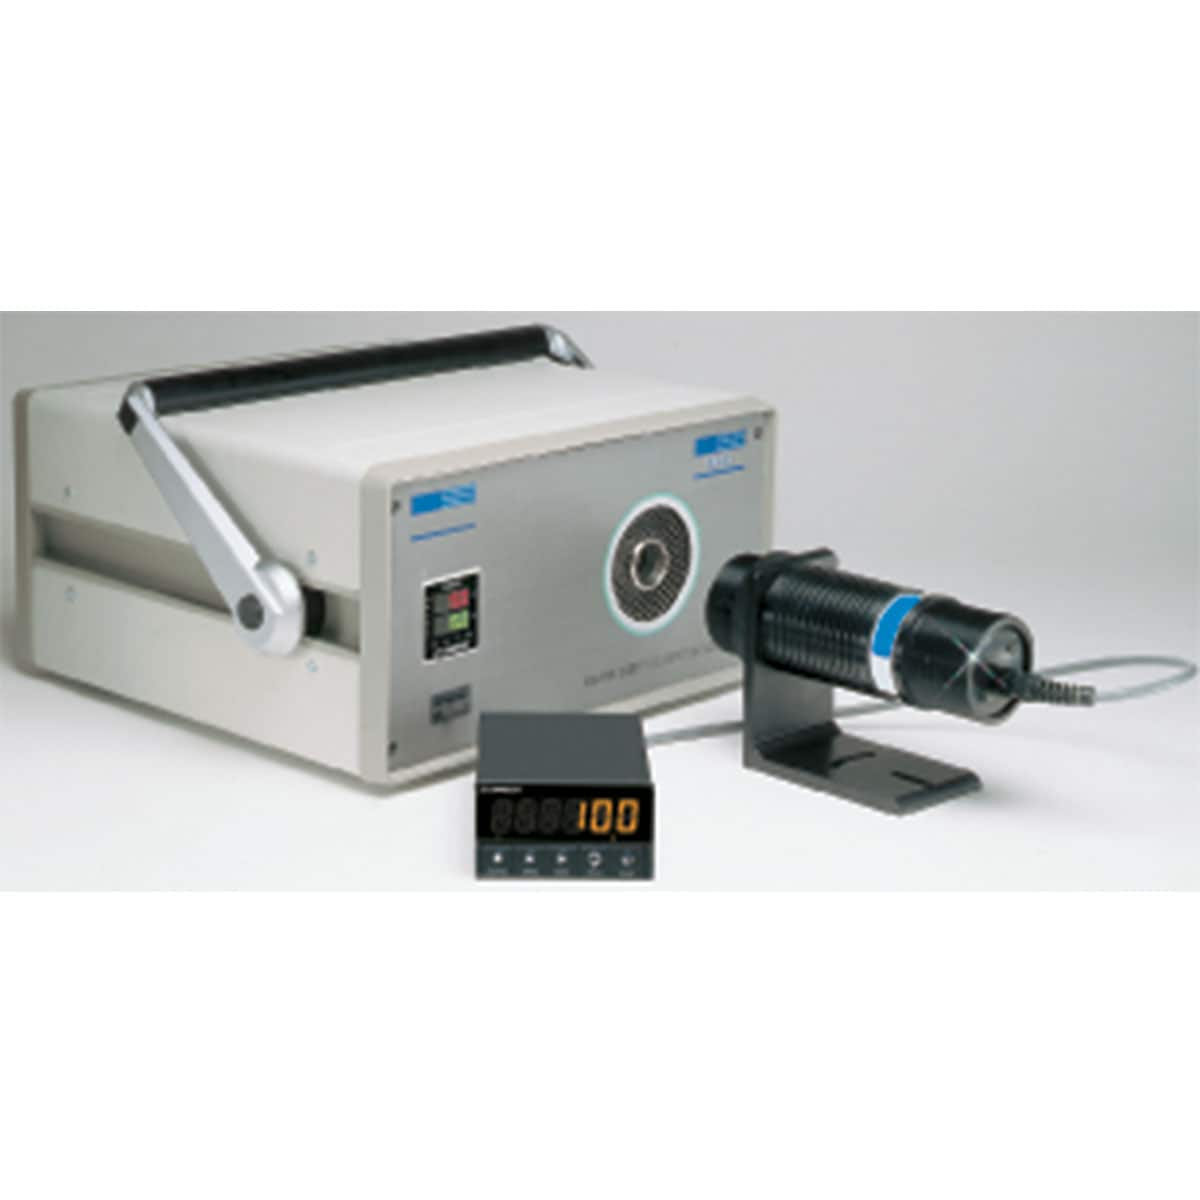
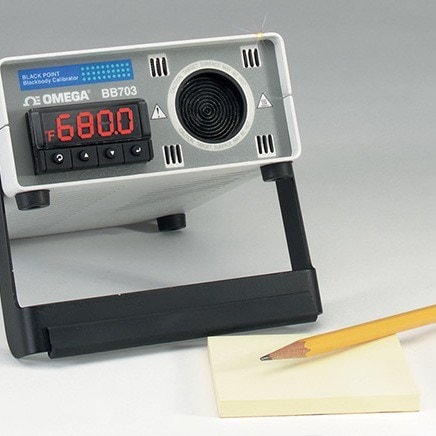
Black Body Calibrators
A black body is used for calibrating infrared pyrometers. They typically consist of a target plate that has a very high emisivity. The temperature of the target plate can be controlled to very tight tolerances. To calibrate and infrared pyrometer, the pyrometer makes a measurement of the the target plate. The controlled temperature of the plate is compared with the pyrometer reading. The pyrometer is then adjusted until the the difference is minimal. The high emissivity of the target plate minimizes emissivity errors.
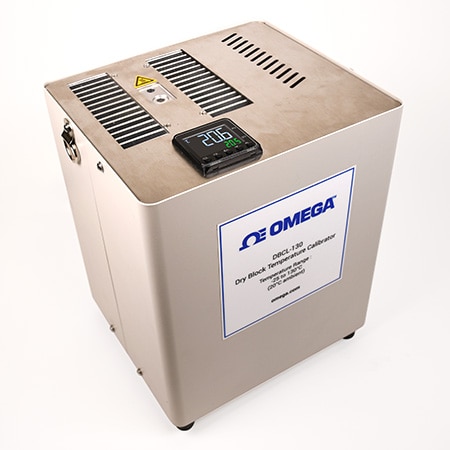
Block Calibrators
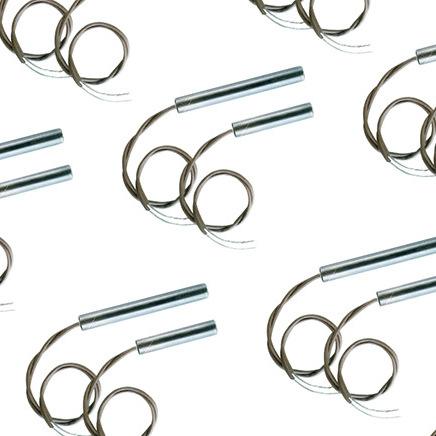
Block Calibrators are used for calibrating temperature probes. They contain a metal block that can be heated to a precise temperature. Temperature probes can be inserted into the block and the measured temperature of the probes can be compared with the controlled temperature of the blocks. Since temperature probes generally don't have any adjustments, this is really verification process rather than a true calibration.
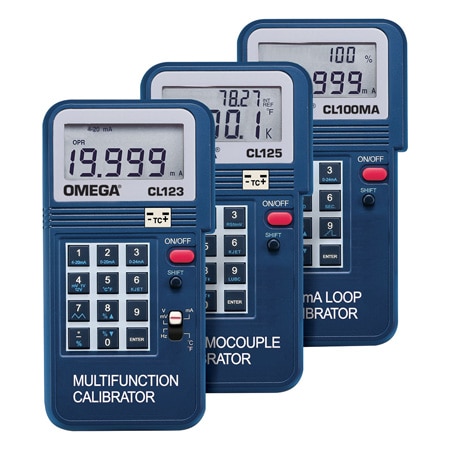
Simulators and Signal References
When calibrating an instrument, such as a panel meter or temperature controller, it is necessary to input a precise known electrical signal. The instrument's display or output value can then be adjusted to match the input signal. a signal reference is used to generate the precision signal. Signal references are available as voltage references, current references and frequency references. When working with an instrument that reads a sensor, such as thermocouple, a special type of signal reference, called a simulator is used. The simulator can accurately reproduce a sensor output. Many signal references and simulators can not only generate signals but read them as well.
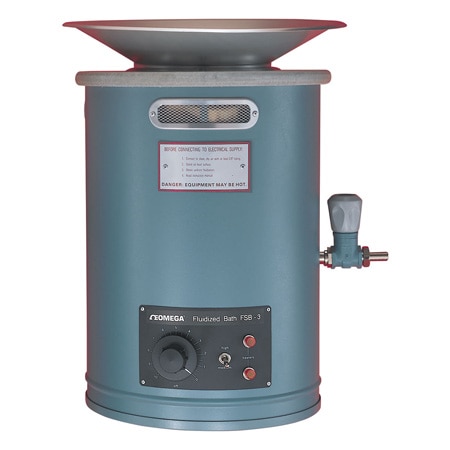
Fluidized Sand Bath Calibrators
Triaxial accelerometers measure the vibration in three axes X, Y and Z. They have three crystals positioned so that each one reacts to vibration in a different axis. The output has three signals, each representing the vibration for one of the three axes. The ACC301 has lightweight titanium construction and 10 mV/g output with a dynamic range of +/-500 g's over a range of 3 to 10 kHz.
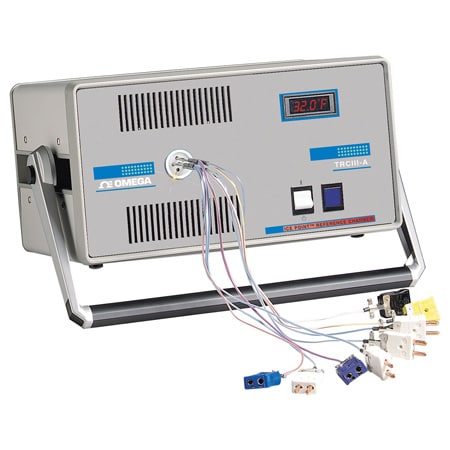
ice point™ Calibration Reference Chambers
ice point™ calibration reference chambers employ thermoelectric cooling elements to produce a very precise stable 0°C reference chamber. The reference chamber can be used for calibrating temperature probes but they are also commonly used in simulating a thermocouple signal for the calibration and verification of instruments that read thermocouples.
What is Involved in a Typical Calibration?
A weighing system serves will in illustrating general principles of calibration. Archimedes and Leonardo Da Vinci used the positioning of calibrated counterweights on a mechanical lever to balance and thereby determine unknown weights. A variation of this device uses multiple levers, each of a different length and balanced with a single standard weight. Later, calibrated springs replaced standard weights. The introduction of hydraulic and electronic (strain gauge-based) load cells represented the fist major design change in weighing technology. In today’s processing plants, electronic load cells are preferred in most applications. To check if transducers and load cells are functioning properly, the user must answer the following:
- Does the weight indication return to zero when the system is empty or unloaded?
- Does the indicated weight double when the weight doubles?
- Does the indicated weight remain the same when the location of the load changes (uneven loading)?
If the answers are yes, the cells and transducers are probably in good condition.
Frequently Asked Questions
Q: Why is calibration important?
A: Calibration is important because it ensures the accuracy and reliability of various measurement devices and systems. By comparing the readings obtained from a device to a known reference value, calibration helps identify and correct any discrepancies and allows for precise measurements and consistent results.
Q: What types of devices require calibration?
A: Various types of devices across different fields require calibration. Common examples include:
- Temperature sensors
- Pressure gauges
- Weighing scales
- pH meters
- Flow meters
- Strain gauges
Calibration is crucial for any device that provides measurements used in critical applications, research, quality control, or safety-related processes.
Q: Does regulatory compliance require calibration?
A: Regulatory compliance often requires regular calibration of specific devices and systems. Many industries, such as healthcare, aerospace, automotive, pharmaceutical, and manufacturing, have regulatory bodies or calibration standards that outline calibration requirements. These regulations ensure that measurements and instruments meet specified accuracy and quality standards. Adhering to these regulations helps maintain consistency, safety, and reliability within the industry. It is essential to consult the relevant regulatory guidelines and standards applicable to your specific field to determine the calibration requirements.
Q: Are there environmental factors that contribute to the need for calibration?
A: Various environmental factors can contribute to the need for calibration. Environmental conditions such as temperature, humidity, pressure, and exposure to contaminants can affect the performance and accuracy of measurement devices. For example, temperature variations can impact the readings of thermometers and other temperature-sensitive instruments. Similarly, high humidity levels can introduce moisture-related errors in certain equipment. Exposure to pollutants or corrosive substances can degrade the performance of sensors and affect measurement accuracy. Regular calibration helps account for these environmental factors, ensuring that devices remain accurate and reliable despite changing conditions, thereby maintaining measurement integrity.
Q: Does calibration affect product quality?
A: Calibration significantly influences product quality. In manufacturing and industrial processing, accurate measurements are crucial for ensuring product consistency, reliability, and adherence to specifications. Calibrated instruments and sensors are used to measure dimensions, weights, volumes, and other critical parameters during the manufacturing process. By maintaining the accuracy of these measurements through calibration, manufacturers can detect and correct any deviations, ensuring that products meet the desired quality standards. Calibration helps minimize variations, improves process control, and reduces defects – leading to higher product quality and customer satisfaction.
Q: Is calibration the same as accuracy?
A: No, calibration and accuracy are related concepts – but not the same.
Calibration refers to the process of comparing the measurements obtained from a device to known reference values or standards and making necessary adjustments to ensure accuracy. It involves verifying and adjusting the performance of a device to bring it within acceptable limits.
Accuracy, on the other hand, is a measurement’s closeness to the true, or target, value. It represents how well a measurement reflects the actual value being measured. Calibration helps establish and maintain accuracy by aligning the device’s readings with reference values, but accuracy itself is a characteristic of a measurement or a device’s ability to provide reliable and true results.
